
Step 1
TEST THE GROUND
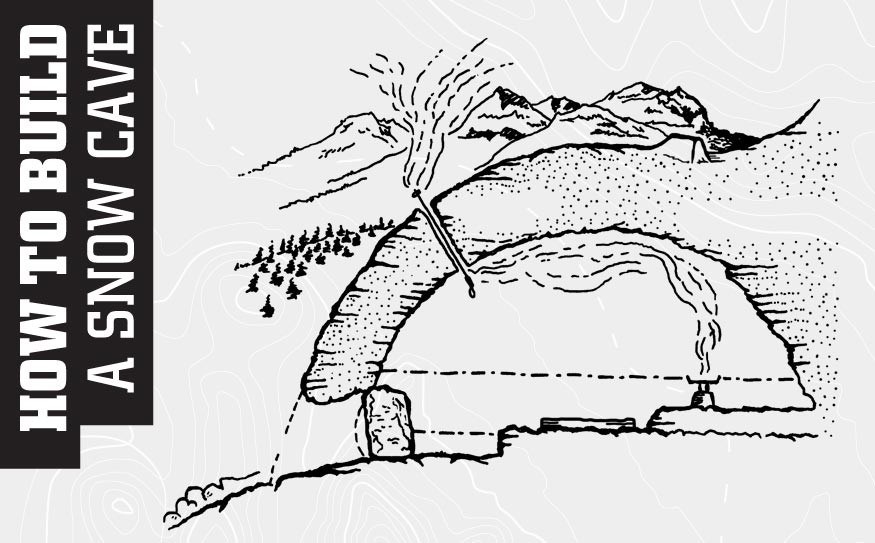
You will need to find an area, preferably sheltered from wind, where the snow is at least 1.8m (6 ft) deep. Make sure the snow is packed to avoid a cave in and be sure you are not setting up in an avalanche path.
Step 2
DIG THE MAIN HOLE
The main entrance needs to be at least 1.8m – 2m deep with enough space to move in and out of without too much effort. If you are tunnelling into a snow drift the hole may not need to be as deep.
Step 3
DIG THE MAIN CHAMBER
Having a snow saw to cut large blocks will help move the snow more quickly. Blocks can be passed between team members faster than shovel loads of snow. Make sure the walls of the main chamber are at least 30cm thick for adequate insulation. Begin to tunnel upwards so the entrance is at least 30cm below the rest area.
Step 4
DIG THE BEDS
The higher the beds are in the cave, the warmer you will be. Try to make the beds higher than the rest area but be sure to leave yourself enough head room. Smooth the ceilings to avoid drips and carve small channels towards the entrance to allow moisture to drain.
Step 5
Poke a hole with a ski pole at least a three centimetres wide into the roof and outside to allow ventilation.
Step 6
Mark the exterior of your snow cave with skis, snowboards or a snowmobile in case rescuers arrive.
Step 7
Cover the entrance with a backpack and pack snow around it to seal in the warmth.


